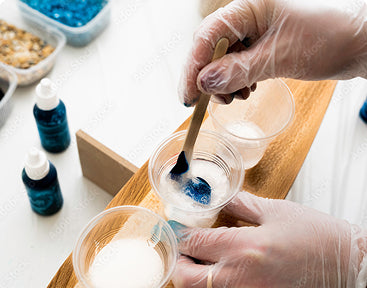
Elevate Your Jewelry Designs with Our Premium Epoxy Resin

Creating beautiful jewelry pieces requires the right materials, and perhaps nothing matters more than choosing quality epoxy that delivers consistent results. At Epoxy King, we understand that crafters need reliable supplies that work every single time—because there's nothing worse than spending hours on a project only to have it fail during the curing process.

Whether you're just starting your crafting adventure or you've been creating handmade pieces for years, the type of casting material you choose will make or break your finished jewelry. Some people think all epoxy products are basically the same, but that's not quite true. The differences between various formulations can be pretty significant.

What Makes Epoxy Different from Other Casting Materials?

Epoxy stands out from other casting options because of its incredible durability and crystal-clear finish. Unlike polyester alternatives that tend to yellow over time, high-quality epoxy maintains its clarity for years. This matters especially when you're creating pieces that people will treasure.

Most crafters find that epoxy offers better workability too. You get more time to position your elements before the material starts to set, which is crucial when you're working with intricate designs or multiple components. The viscosity is usually just right—not too thick that it won't fill detail areas, but not so thin that it runs everywhere.

Working temperatures also tend to be more forgiving with epoxy. Some casting materials get uncomfortably hot during curing, but quality epoxy formulations generate less heat. This means you can work more comfortably and there's less risk of heat damage to delicate inclusions.

Which Type of Epoxy Works Best for Different Jewelry Projects?

The answer really depends on what you're trying to create. For pendants and larger pieces, slow-cure epoxy gives you plenty of working time to eliminate bubbles and position elements perfectly. These formulations typically cure over 12-24 hours, which sounds like a long time but the results are worth waiting for.

UV-activated options work wonderfully for smaller pieces like earrings or when you need quick results. You can have a finished piece in minutes instead of hours. However, you'll need a UV lamp, and the working time is much shorter—sometimes just a few minutes before you need to cure the piece.

Some crafters prefer working with thick-pour formulations when they're making chunky statement pieces. These can handle depths of several inches without developing heat issues or cracking. For thin applications like coating flat surfaces or creating delicate layers, thin-pour varieties flow better and self-level more effectively.

How Do You Know If You're Getting Quality Epoxy?

Quality shows up in several ways, though it's not always obvious from the packaging. First, good epoxy should mix to a completely clear solution without cloudiness or streaks. If your mixed epoxy looks milky or has visible swirls after thorough mixing, that's usually a sign of lower quality ingredients.

The smell can be telling too. While most epoxy has some odor, high-quality formulations tend to have less aggressive chemical smells. Some cheap alternatives have such strong odors that you can't work with them comfortably, even with ventilation.

Bubble behavior is another indicator. Quality epoxy typically releases bubbles more easily during the working time. You might still need to remove bubbles with a heat gun or torch, but they should rise to the surface readily. Lower-quality products sometimes trap bubbles stubbornly.

Cure consistency matters enormously. Good epoxy cures evenly throughout the piece, maintaining the same hardness from surface to bottom. Poor-quality alternatives sometimes cure unevenly, leaving soft spots or sticky areas that never fully harden.

What Supplies Do You Actually Need to Get Started?

Beyond the epoxy itself, you'll need measuring tools that give accurate ratios. Most formulations require precise mixing—usually 2:1 or 1:1 ratios by volume. Kitchen scales work well for measuring by weight, which many experienced crafters prefer for consistency.

Molds are obviously essential, and silicone varieties offer the best release properties. You can find pre-made shapes or create custom molds using silicone putty. Rigid molds work fine too, but you'll need mold release spray to prevent sticking.

Mixing tools should be disposable or easy to clean. Wooden stir sticks work well, though some people prefer plastic mixing paddles. Whatever you use, make sure it's clean—any contaminants can affect the cure.

Safety equipment includes gloves, eye protection, and proper ventilation. Epoxy isn't particularly dangerous, but skin contact can cause sensitization over time. Good ventilation prevents vapor buildup, which can cause headaches or respiratory irritation.

Heat guns or small torches help remove bubbles from the surface. You don't need anything fancy—a basic craft heat gun works perfectly. Some crafters use hair dryers, though they're less effective at bubble removal.

What Supplies Do You Actually Need to Get Started?

1. Temperature problems: Cause more failures than almost anything else. Working in spaces that are too cold slows the cure dramatically and can prevent proper hardening. Too hot, and the epoxy might cure too quickly, trapping bubbles or creating heat damage.


2. Measuring errors: Happen frequently, especially when people try to eyeball the ratios. Even small deviations from the recommended mixing ratio can result in epoxy that never fully cures or remains permanently tacky.


3. Inadequate mixing: Creates weak spots or areas that don't cure properly. Most formulations need at least two minutes of thorough mixing, scraping the sides and bottom of the container repeatedly.


4. Too many inclusions: Can weaken the final piece. While it's tempting to pack in lots of glitter, dried flowers, or other elements, too much inclusion material prevents proper curing and can make the finished piece brittle.


5. Demolding too early: Another common issue. Even when the surface feels hard, the interior might still be soft. Patience during the curing process prevents damage and ensures maximum strength.

How Can You Achieve Professional-Looking Results?

Patience probably matters more than any other factor. Rushing any step—mixing, pouring, curing, or demolding—usually leads to problems. Professional results come from taking time to do each step properly.

Temperature control makes a huge difference in final quality. Working in a space around 70-75°F with low humidity gives the most predictable results. Some crafters use warming mats or small heaters to maintain consistent temperatures.

Surface preparation affects how professional the finished piece looks. Clean molds, properly prepared inclusions, and contamination-free work surfaces all contribute to better results.

Finishing techniques can take a good piece to the next level. Light sanding with fine grits followed by polishing compound can restore crystal clarity to any areas that might have gotten scratched or cloudy.

Documentation helps improve your results over time. Keeping notes about which products work well, temperature conditions, and timing helps you repeat successful results and avoid repeating mistakes.

What About Working with Different Inclusion Materials?

Dried flowers and plant materials need special consideration since they can contain moisture that interferes with curing. Many crafters seal them first with a light coat of clear spray or by pre-treating with a small amount of epoxy.

Glitter and mica powders work beautifully in epoxy, but distribution can be tricky. Adding them during the mixing phase distributes them evenly, while adding them after pouring creates more concentrated areas of sparkle.

Metal elements like wire, charms, or findings should be clean and free of oils or oxidation. Some metals can react with epoxy over time, so testing small samples first makes sense for expensive projects.

Papers and fabric inclusions often benefit from being sealed before embedding. Unsealed materials might allow air bubbles to form as the epoxy penetrates, creating cloudiness around the inclusion.

Natural stones and crystals usually work well without special preparation, though porous stones might benefit from sealing. Some stones have natural oils that can create adhesion problems, so cleaning with alcohol before embedding helps ensure good bonding.

Which Color Options Work Best for Jewelry?

1. Clear epoxy: Showcases inclusions beautifully and works with virtually any design aesthetic. It's probably the most versatile choice, especially when starting out or when the inclusions themselves provide the colour interest.


2. Transparent tints: Add colour while still allowing light to pass through the piece. These work well when you want a subtle colour wash or when you're trying to complement specific inclusion colours.


3. Opaque colorants: Create solid colours that can look almost like ceramic or stone. These work well for geometric designs or when you want the epoxy itself to be the primary visual element rather than showcasing inclusions.


4. Metallic additives: Create interesting effects, especially in thicker pieces where light can penetrate and reflect from different depths. Gold and silver powders are popular, while copper and bronze create warmer tones that work well with natural inclusions.


5. Multi-coloured techniques: Some crafters pour different coloured layers or create swirl patterns with partially mixed colours. These approaches require more skill but can produce stunning results.

Why Trust Epoxy King?

Quality Assurance

Quality Assurance

We guarantee top-quality epoxy resin products that are made to achieve the highest safety standards with our food-safe resin coating, ensuring your peace of mind.
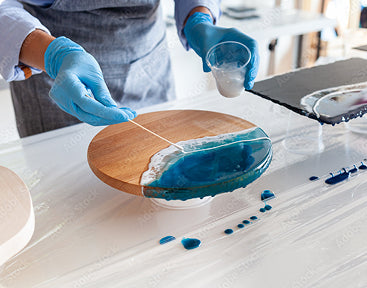
Expertise

Expertise

With years of experience in the industry, we have the knowledge and expertise to provide you with the best solutions for your food-safe projects.
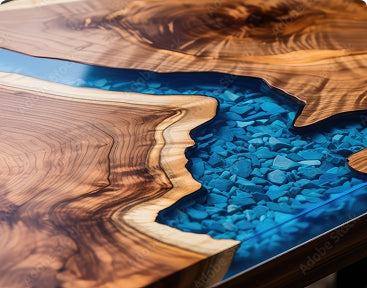
Variety

Variety

Our extensive range of epoxy resin products offers options for every need and budget, ensuring that you find the perfect fit for your project.
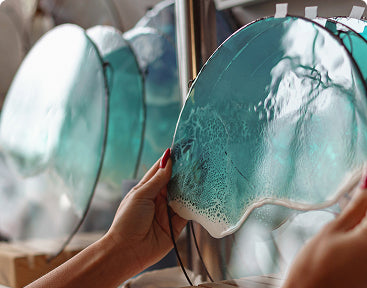
Customer Satisfaction

Customer Satisfaction

At Epoxy King, customer satisfaction is our priority. We strive to exceed your expectations with our products and service, earning your trust and loyalty.
Reliability

Reliability

When you choose Epoxy King, you can count on reliable products and dependable service every time. Trust us for all your food-safe epoxy needs and experience the difference.

Frequent Questions

Here’s a comprehensive FAQ that covers various aspects

How long does epoxy jewelry typically last before showing wear?

High-quality epoxy jewelry can last for decades with proper care, though the specific lifespan depends on several factors. The quality of the epoxy itself plays the biggest role—premium formulations resist yellowing, cracking, and surface degradation much better than lower-grade alternatives. UV exposure is probably the biggest enemy of epoxy jewelry, so pieces that are worn frequently in direct sunlight might show some yellowing after several years, while pieces kept away from strong UV light maintain their clarity almost indefinitely.

The type of wear matters too. Rings and bracelets experience more physical stress than earrings or pendants, so they might show scratches or surface wear sooner. However, light surface scratches can often be polished out with fine abrasives and polishing compounds. Proper storage also extends lifespan significantly—keeping pieces in soft pouches or jewelry boxes prevents scratching from contact with other jewelry. Most well-made epoxy jewelry pieces remain beautiful and wearable for 10-20 years or more with reasonable care.

Can you fix epoxy jewelry that has bubbles or defects after curing?

Small surface bubbles can sometimes be addressed with careful sanding and polishing, though this works best on flat or gently curved surfaces. The process involves progressively finer grits of sandpaper, starting around 400 grit and working up to 2000 grit or higher, followed by polishing compound. This essentially removes the top layer containing the bubbles and restores the clear surface.

For deeper bubbles or internal defects, repair becomes more challenging. Some crafters drill out small bubble areas and fill them with fresh epoxy, though this requires skill to blend seamlessly. Heat can sometimes cause bubbles to expand and rise to the surface where they can be popped with a fine needle, but this only works while the epoxy is still in its working time.

Prevention remains the best approach—proper mixing, temperature control, and bubble removal techniques during the initial pour prevent most defects. Many professional jewelers consider pieces with significant internal bubbles to be learning experiences rather than sellable products. The good news is that each project teaches you something about bubble prevention for future pieces.

What's the difference between using molds versus creating free-form pieces?

Molds offer consistency and precision, making them ideal when you want multiple pieces with identical shapes or when you're creating pieces that need to fit together precisely. Silicone molds capture fine details beautifully and release easily, while rigid molds might offer sharper edges but require release agents. Pre-made molds save time and ensure professional-looking results, especially for common shapes like teardrops, circles, or geometric forms.

Free-form techniques give you unlimited creative control but require more skill to execute well. You might create dams with tape or clay to contain the epoxy, or pour it directly onto prepared surfaces. These techniques work well for organic shapes, custom sizes, or when you want each piece to be completely unique. Some crafters combine approaches, using molds for the basic shape but adding free-form elements during or after the pour.

The choice often depends on your experience level and intended use. If you're planning to sell jewelry, molds help ensure consistent quality and sizing. For personal pieces or artistic expression, free-form techniques might be more satisfying. Many jewelry makers eventually use both approaches depending on the specific project requirements.